A flawless lace front wig install can completely transform your look, giving you a natural hairline that has everyone convinced it's growing right from your scalp. Whether you're new to wigs or looking to perfect your technique, this guide walks you through every step.
What You'll Need
- Your lace front wig
- Wig cap (mesh or stocking)
- Lace adhesive or got2b glued spray
- Sharp scissors or a razor
- Elastic band (for melt method)
- Edge control and baby hairs brush
- Alcohol or skin protectant
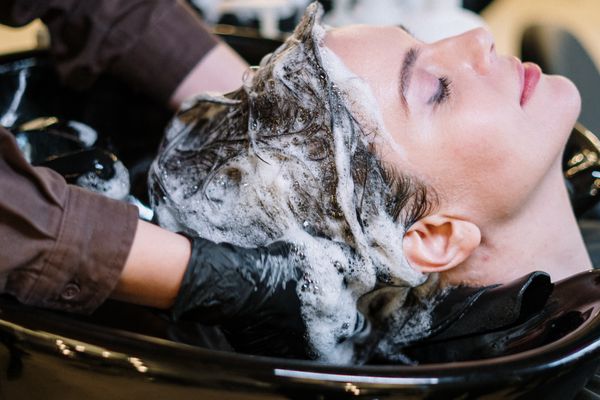
Step 1: Prepare Your Natural Hair
Start by braiding your natural hair flat against your scalp. Cornrows work best for longer hair, while shorter hair can simply be pinned down. The flatter your base, the more natural your wig will sit. Apply a thin wig cap over your braids, making sure it blends closely with your skin tone.
Step 2: Customize the Lace
Place the wig on your head and identify where your natural hairline sits. Using sharp scissors, carefully trim the excess lace along the front, leaving about a quarter inch. Don't rush this step — clean lace cutting is the foundation of a natural-looking install.
Step 3: Apply Adhesive
Clean your hairline with rubbing alcohol to remove oils. Apply a thin layer of lace adhesive along your hairline, waiting until it becomes tacky (usually 1-2 minutes). For a temporary hold, you can use got2b glued spray instead — it washes out easily and is gentler on your skin.
Step 4: Secure & Melt the Lace
Carefully press the lace onto your hairline, starting from the center and working outward. Use a comb or your fingers to press firmly. For a truly melted look, wrap an elastic band around the perimeter and tie a scarf over the front for 10-15 minutes. This creates that seamless "lace melted into skin" effect.
Step 5: Style Your Baby Hairs
The final touch that brings everything together. Pull out a few wisps of hair along the hairline and use edge control to lay them in your preferred style — swoops, curls, or a natural wispy look. Use a baby hair brush or toothbrush to shape them, then tie them down with a scarf for a few minutes to set.
Pro Tips
- Always do a patch test with any new adhesive to check for irritation.
- Invest in a good-quality HD lace — it's thinner and blends more seamlessly than regular lace.
- Use a knot bleaching kit to lighten the knots on the lace for an even more natural look.
- Remove your wig every night using an adhesive remover to protect your skin and edges.